 srcmini
在这里,我们使用的是在上一个主题中创建的项目。要在现有项目中添加新的Web表单,请首先选择项目,然后右键单击并添加新项目。

在左上角选择“ Web表单”选项,然后选择Web表单并单击“添加”按钮。
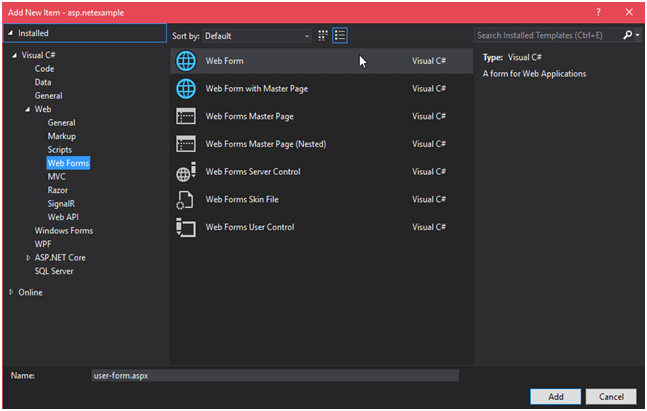
现在单击添加按钮,此表单将添加到我们的项目中。
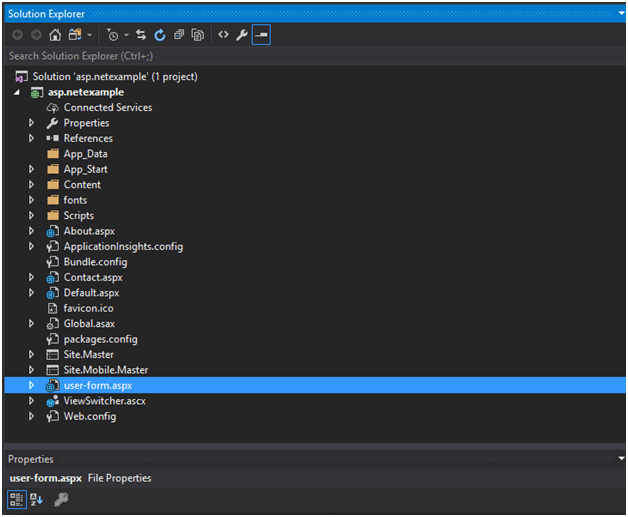
添加表单后,我们可以看到它现在在我们的项目中,如下图所示。
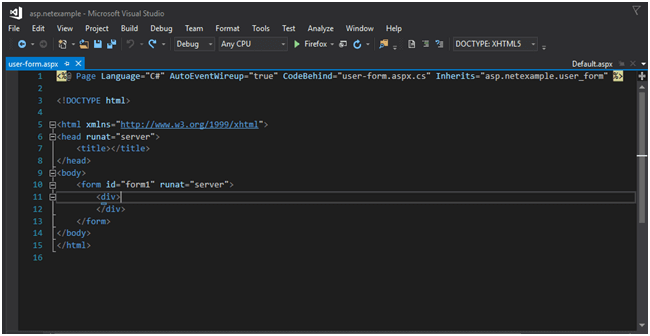
双击此表单,这将显示一些自动生成的代码,如下所示:
// user-form.aspx
<%@ Page Language="C#"  AutoEventWireup="true" CodeBehind="user-form.aspx.cs"
Inherits="asp.netexample.user_form" %>
<!DOCTYPE html>
<html xmlns="http://www.w3.org/1999/xhtml">
<head runat="server">
<title></title>
</head>
<body>
<form id="form1" runat="server">
<div>
</div>
</form>
</body>
</html>
如果我们在浏览器上运行此文件,则不会显示任何输出。因此,让我们通过此表格打印一些消息。
修改后的代码如下。
// user-form.aspx
<%@ Page Language="C#" AutoEventWireup="true" CodeBehind="user-form.aspx.cs"
Inherits="asp.netexample.user_form" %>
<!DOCTYPE html>
<html xmlns="http://www.w3.org/1999/xhtml">
<head runat="server">
<title></title>
</head>
<body>
<form id="form1" runat="server">
<div>
<h2>Welcome to the Web Forms!</h2>
</div>
</form>
</body>
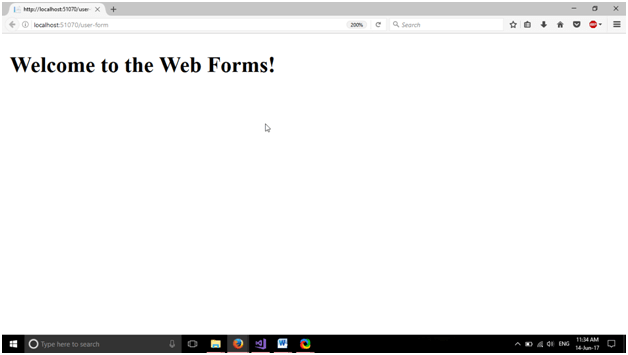
</html>在浏览器上运行它后,将产生以下输出。
除了此消息外,我们还可以做很多事情,也可以向此页面添加控件。我们将在下一章中添加控件以形成表格。
评论前必须登录!
注册