 srcmini
Kivy是Python中与平台无关的GUI工具。由于它可以在Android, IOS, Linux和Windows等操作系统上运行。它基本上是用于开发Android应用程序, 但这并不意味着它不能在桌面应用程序上使用。
在本文中, 我们将学习如何在Python中使用.kv文件在kivy中圆角化按钮。
小部件始终为矩形, 但是我们可以通过使用按钮的一些属性(例如, 按钮)的正常和向下状态来更改小部件的背景并放置几张图像background_normal和background_down属性。另外, 要绕过按钮的各个角落, 你还必须了解按钮的另一个属性, 即border属性。
background_down:
1)按下按钮时用于默认图形表示的按钮的背景图像。
2)background_down是StringProperty。
background_normal:
1)未按下按钮时用于默认图形表示的按钮的背景图像。
2)background_normal也是StringProperty边框:
1)用于BorderImage图形指令的Border。与background_normal和background_down一起使用。可以用于自定义背景。
2)它必须是四个值的列表:(底部, 右侧, 顶部, 左侧)。
3)border是ListProperty, 默认为(16, 16, 16, 16)
以上所有属性的语法:
background_normal: 'normal.png'
background_down: 'down.png'
border: 30 , 30 , 30 , 30
Basic Approach:
1) import kivy
2) import kivyApp
3) import button and floatlayout
4) set minimum version(optional)
5) Create the Layout class
6) Create App class
7) Create .kv file:
1) Add Base class
2) Add Button properties
3) Add Image as button
4) Round the corners of the button using border property
8) return instance of the layout class
9) Run an instance of the classKivy教程–通过示例学习Kivy。
以下是我在此使用的两个图像:
normal.png和down.png


现在下面是实现我的方法的代码:
main.py
## Sample Python application demonstrating that
## how to create button corners round in kivy using .kv file

##################################################
# import kivy module
import kivy

# this restrict the kivy version i.e
# below this kivy version you cannot
# use the app or software
kivy.require( "1.9.1" )

# base Class of your App inherits from the App class.
# app:always refers to the instance of your application
from kivy.app import App

# module consist the floatlayout
# to work with FloatLayout first
# you have to import it
from kivy.uix.floatlayout import FloatLayout

# creates the button in kivy
# if not imported shows the error
from kivy.uix.button import Button

# this restrict the kivy version i.e
# below this kivy version you cannot
# use the app or software
kivy.require( '1.9.0' )

# to change the kivy default settings we use this module config
from kivy.config import Config

# 0 being off 1 being on as in true /false
# you can use 0 or 1 && True or False
Config. set ( 'graphics' , 'resizable' , True )

# creating the root widget used in .kv file
class Base(FloatLayout):
     pass

# class in which we are creating the imagebutton
# in .kv file to be named Btn.kv
class BtnApp(App):
     # defining build()
     def build( self ):
         # returning the instance of root class
         return Base()

# run function runs the whole program
# i.e run() method which calls the target
# function passed to the constructor.
if __name__ = = "__main__" :
     BtnApp().run()
btn.kv
#.kv file implementation of rounding the corners of button
# create a fully styled functional button
# Adding images normal.png and down.png
<Base>:
Button:
text: 'Hit me !!'
# Button prpoerties for image
background_normal: 'normal.png'
background_down: 'down.png'
# To round the corners we use border
border: 30 , 30 , 30 , 30
# Adding background color to button you can comment it
background_color: 0.1 , 0.5 , 0.6 , 1
size_hint: . 3 , . 3
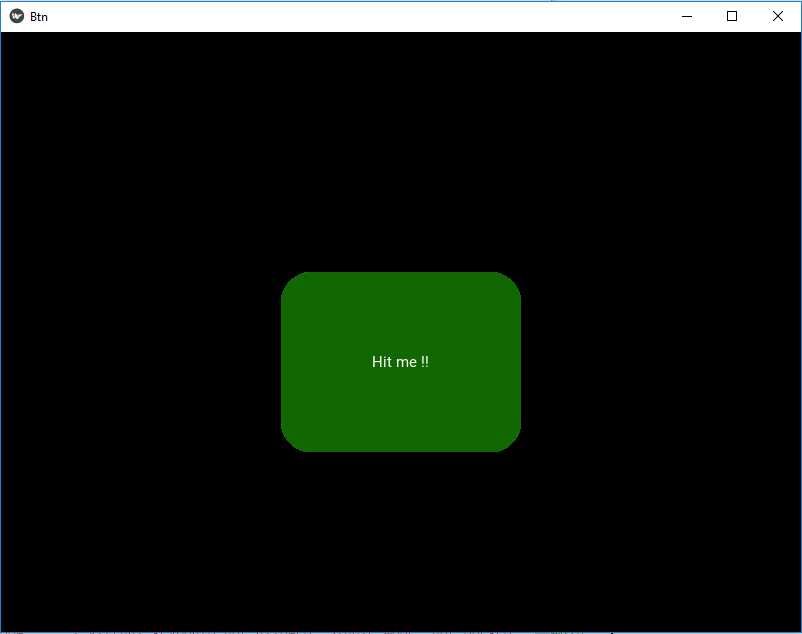
pos_hint: { "x" : 0.35 , "y" : 0.3 }输出如下:
首先, 你的面试准备可通过以下方式增强你的数据结构概念:Python DS课程。
评论前必须登录!
注册