 srcmini
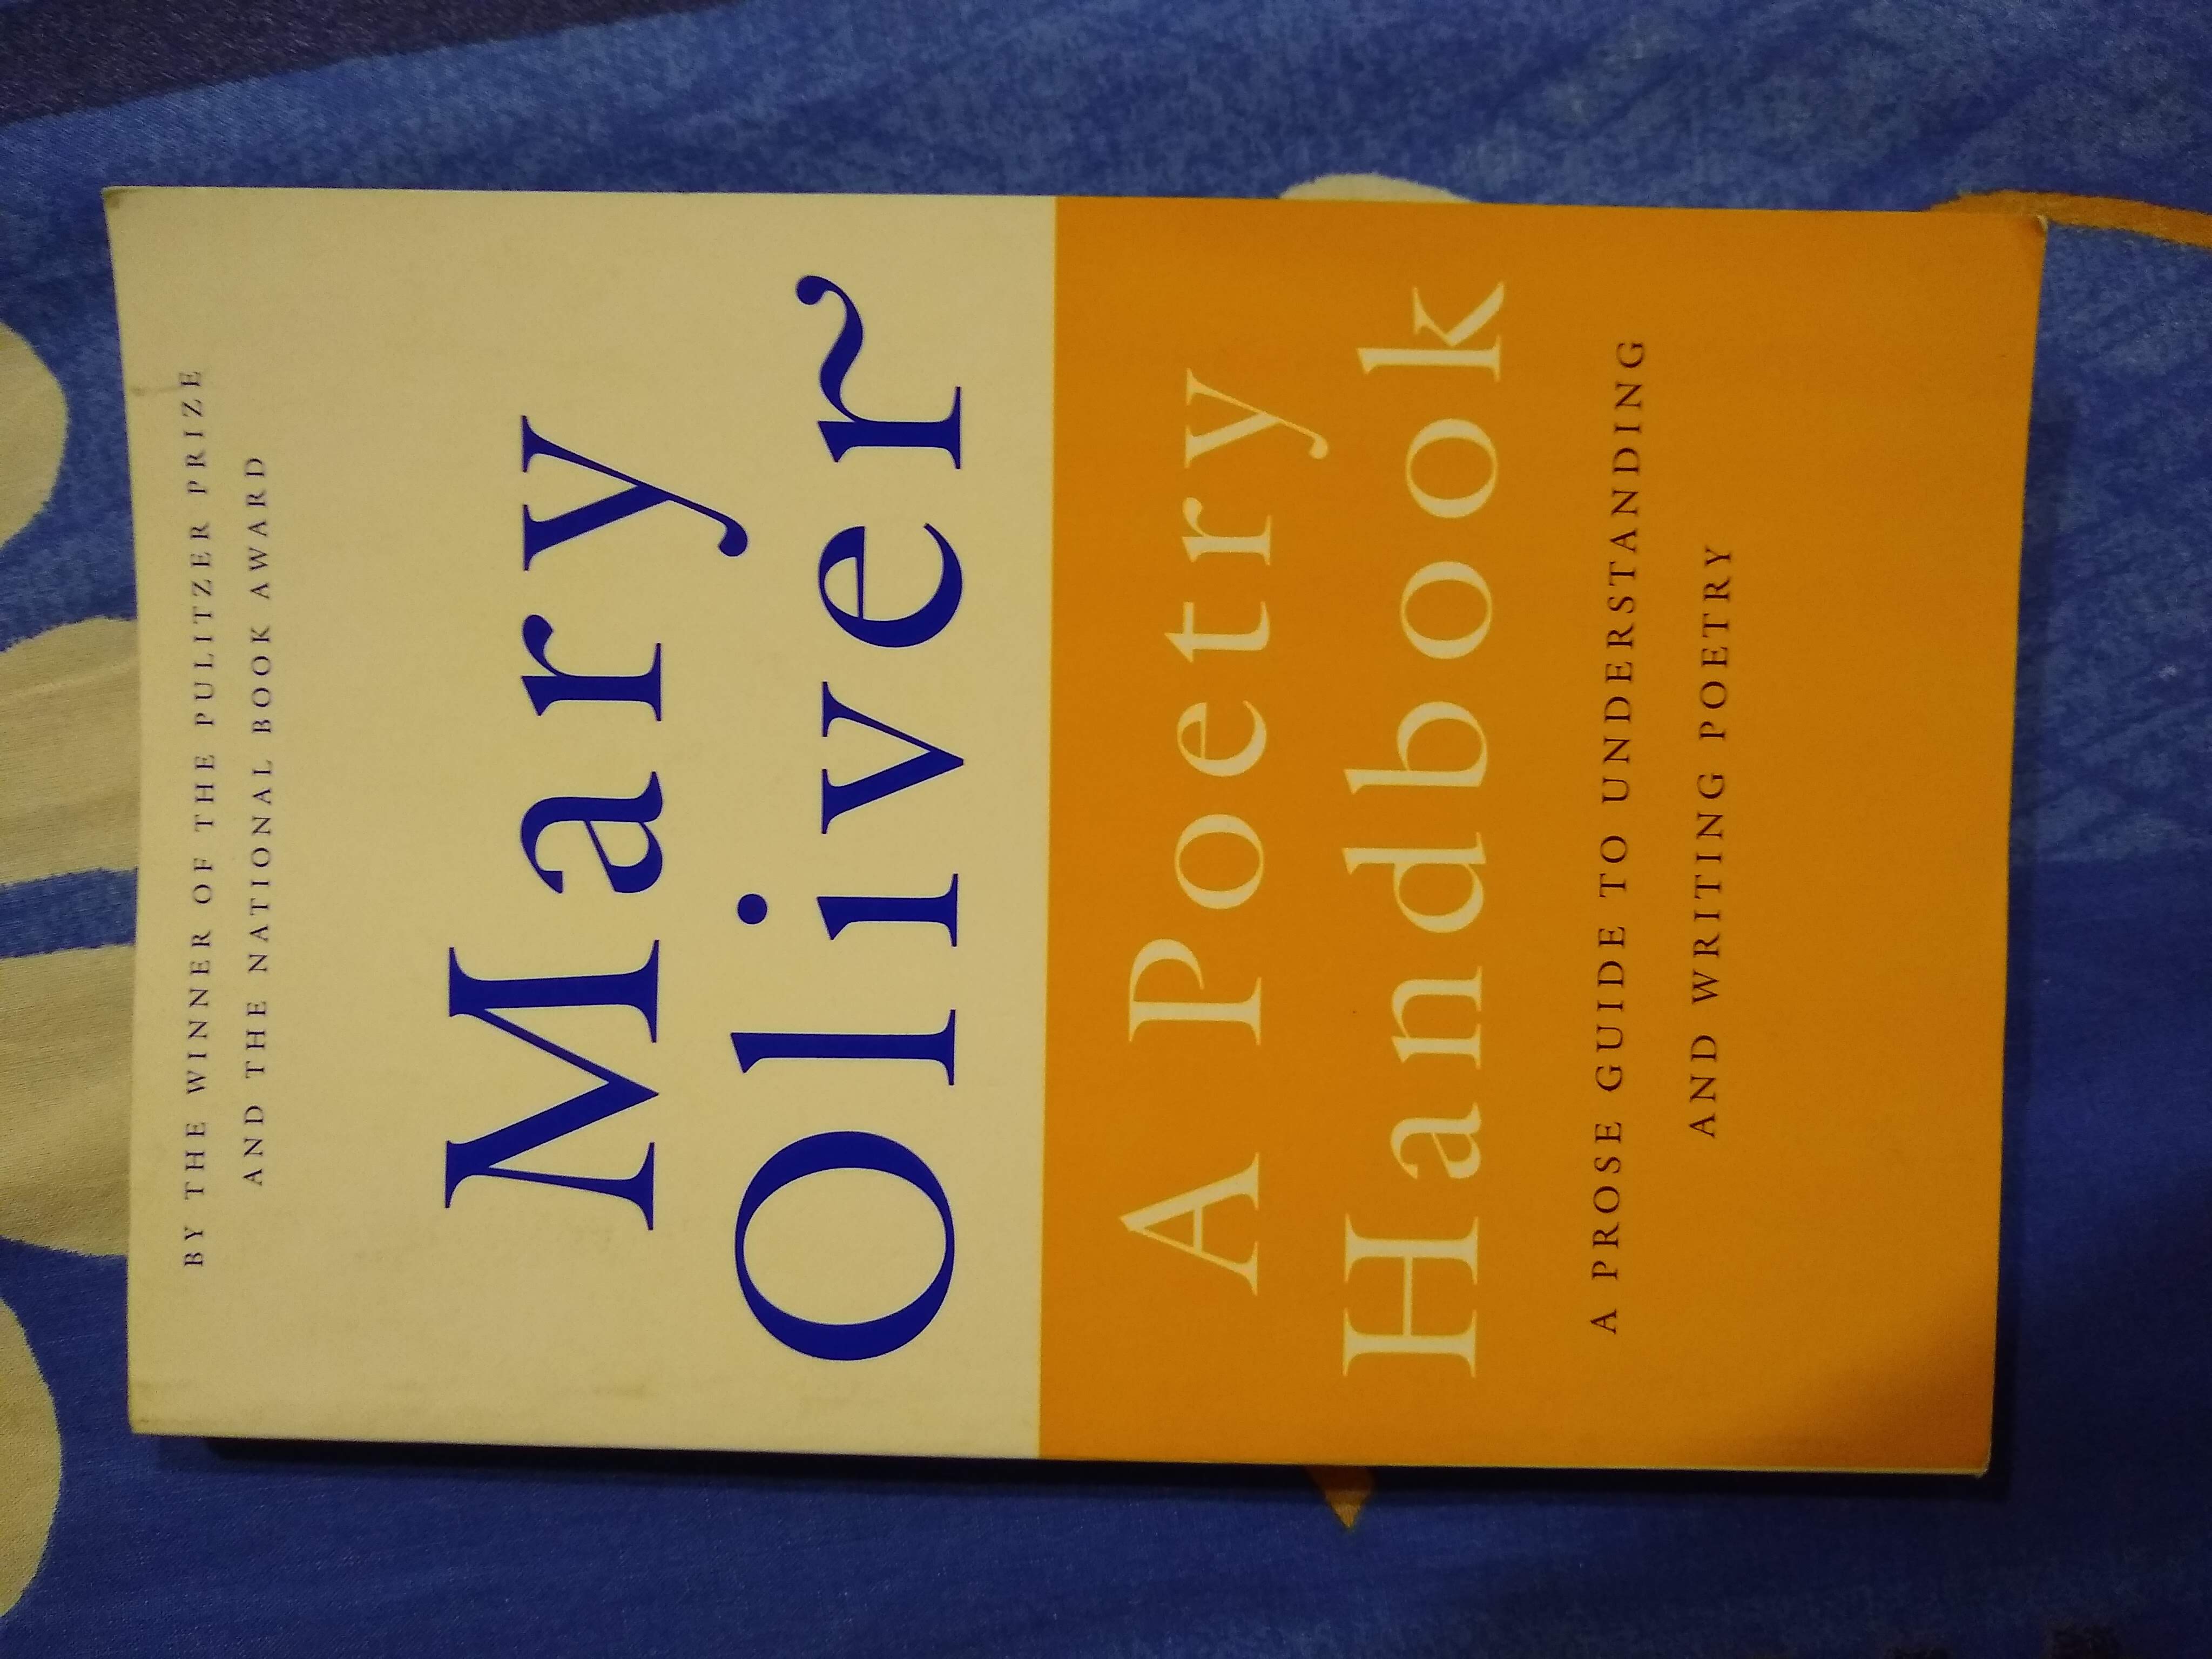
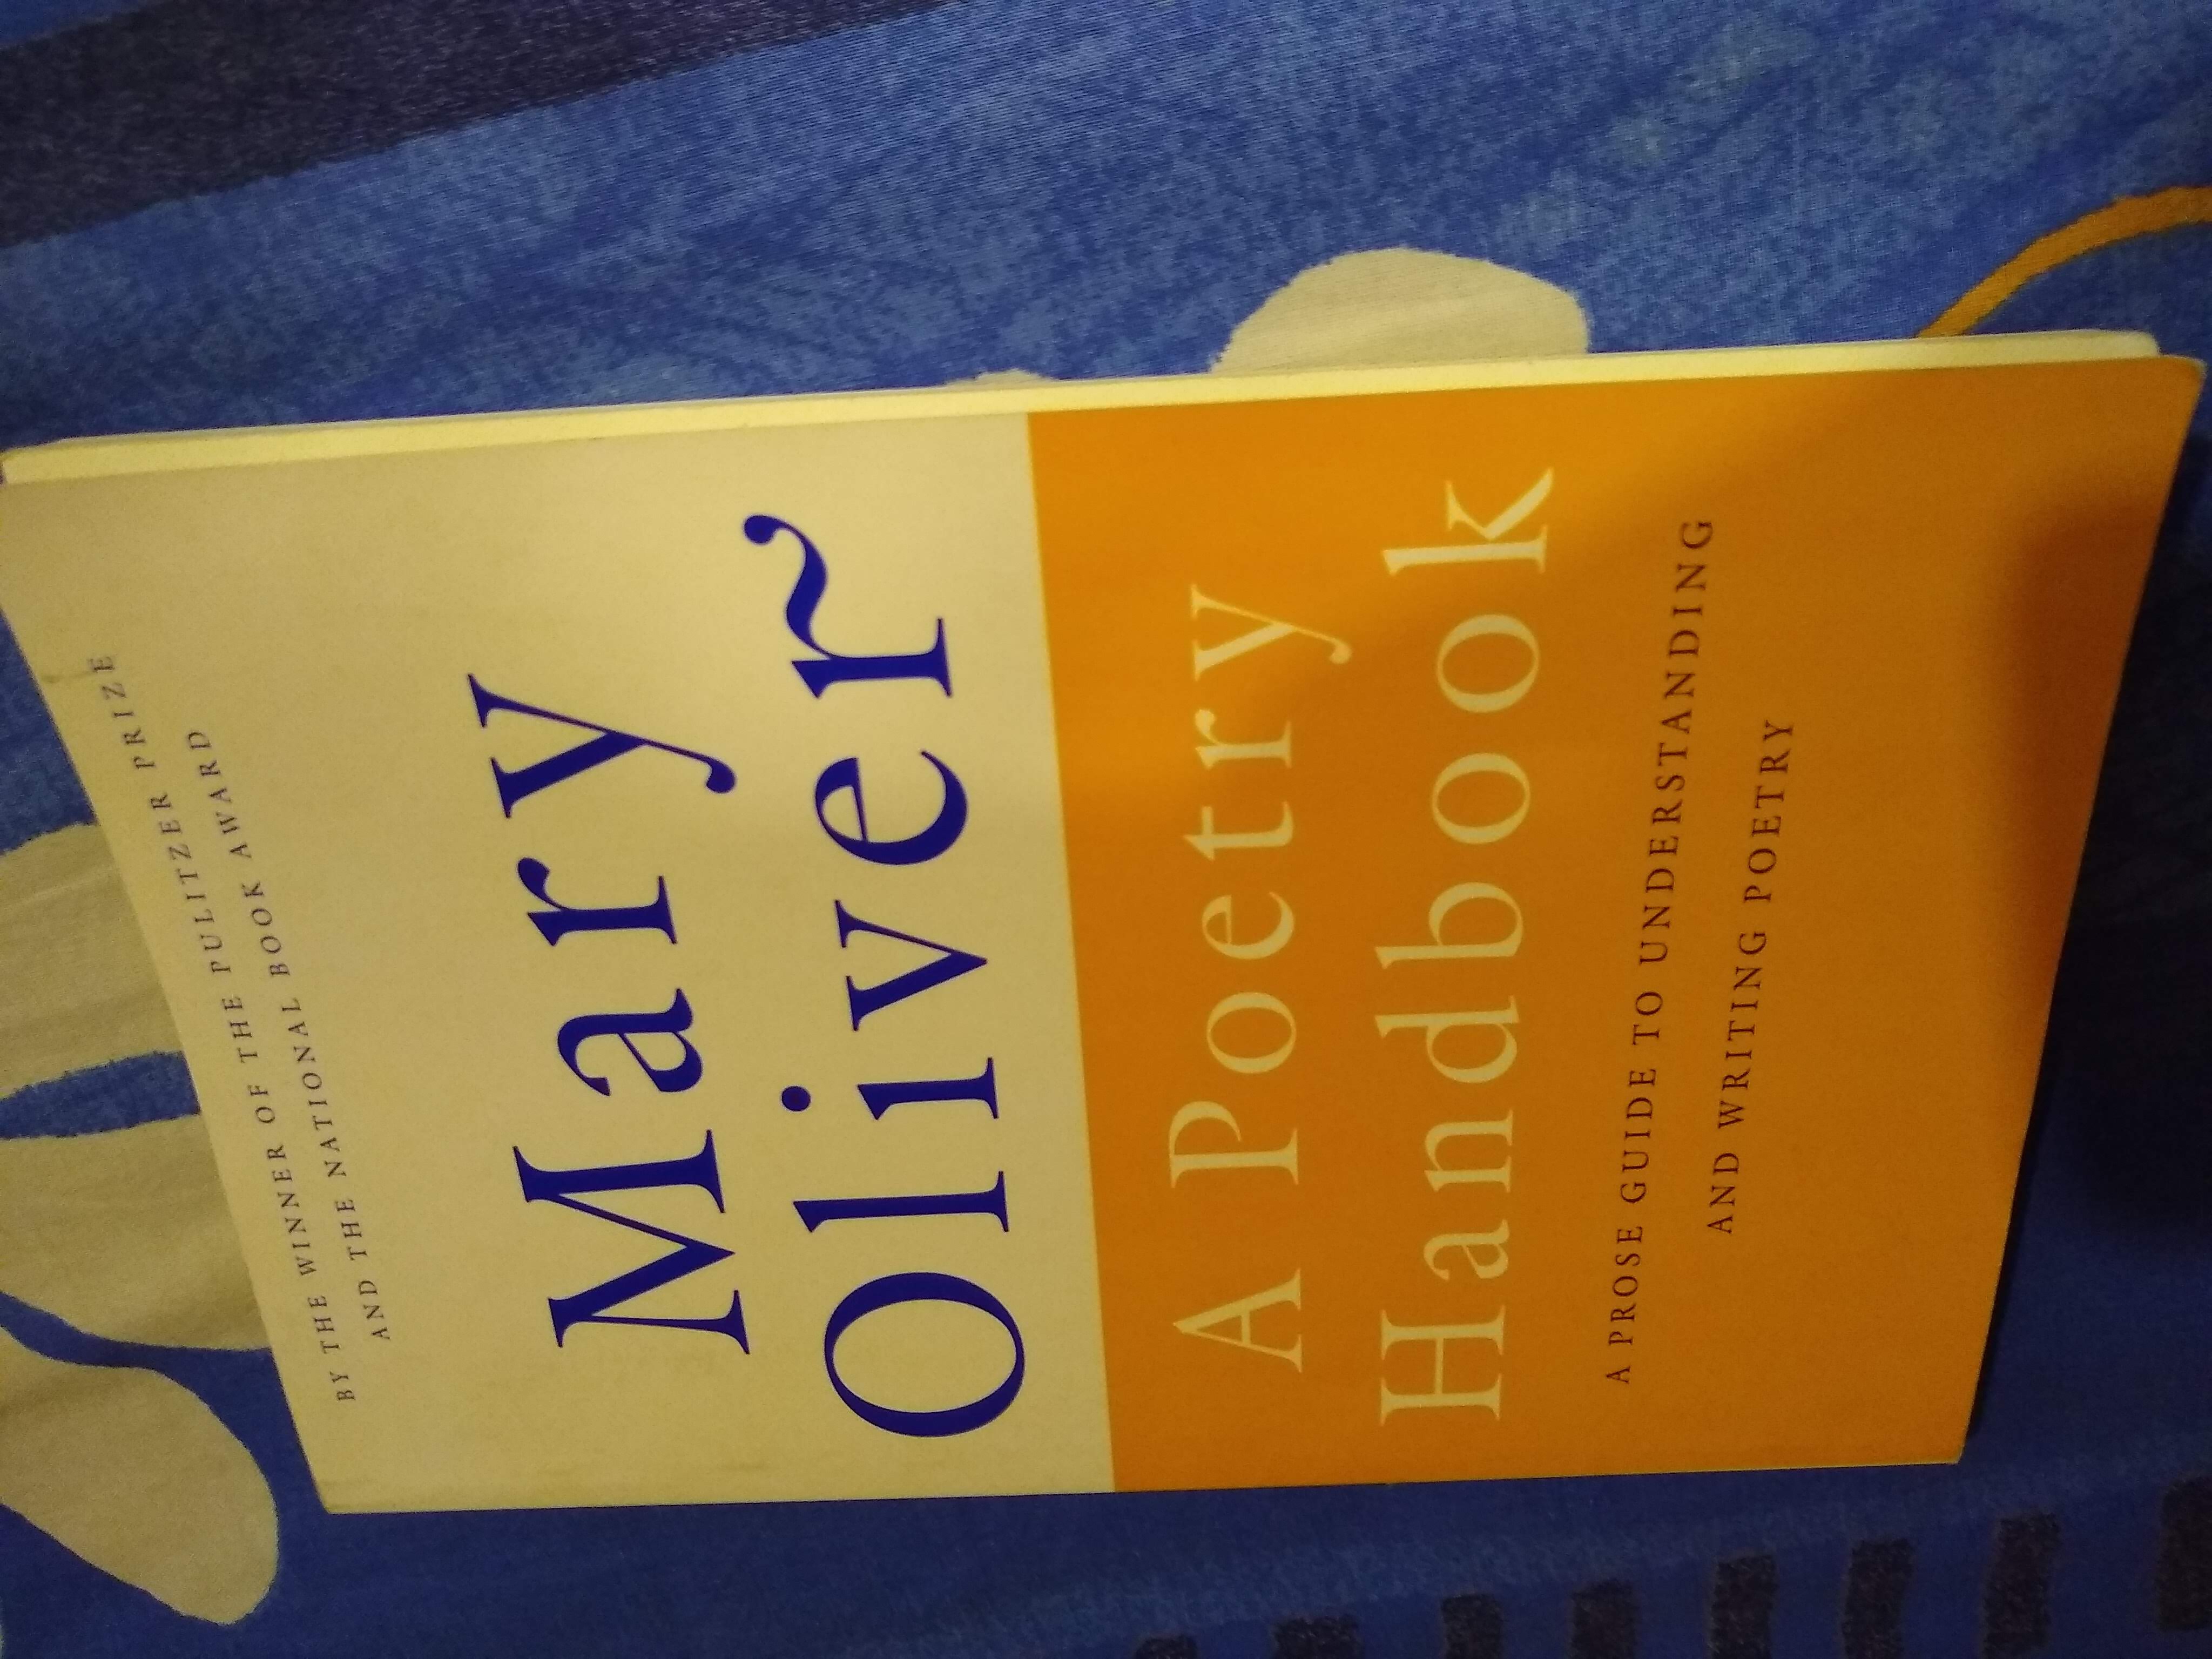
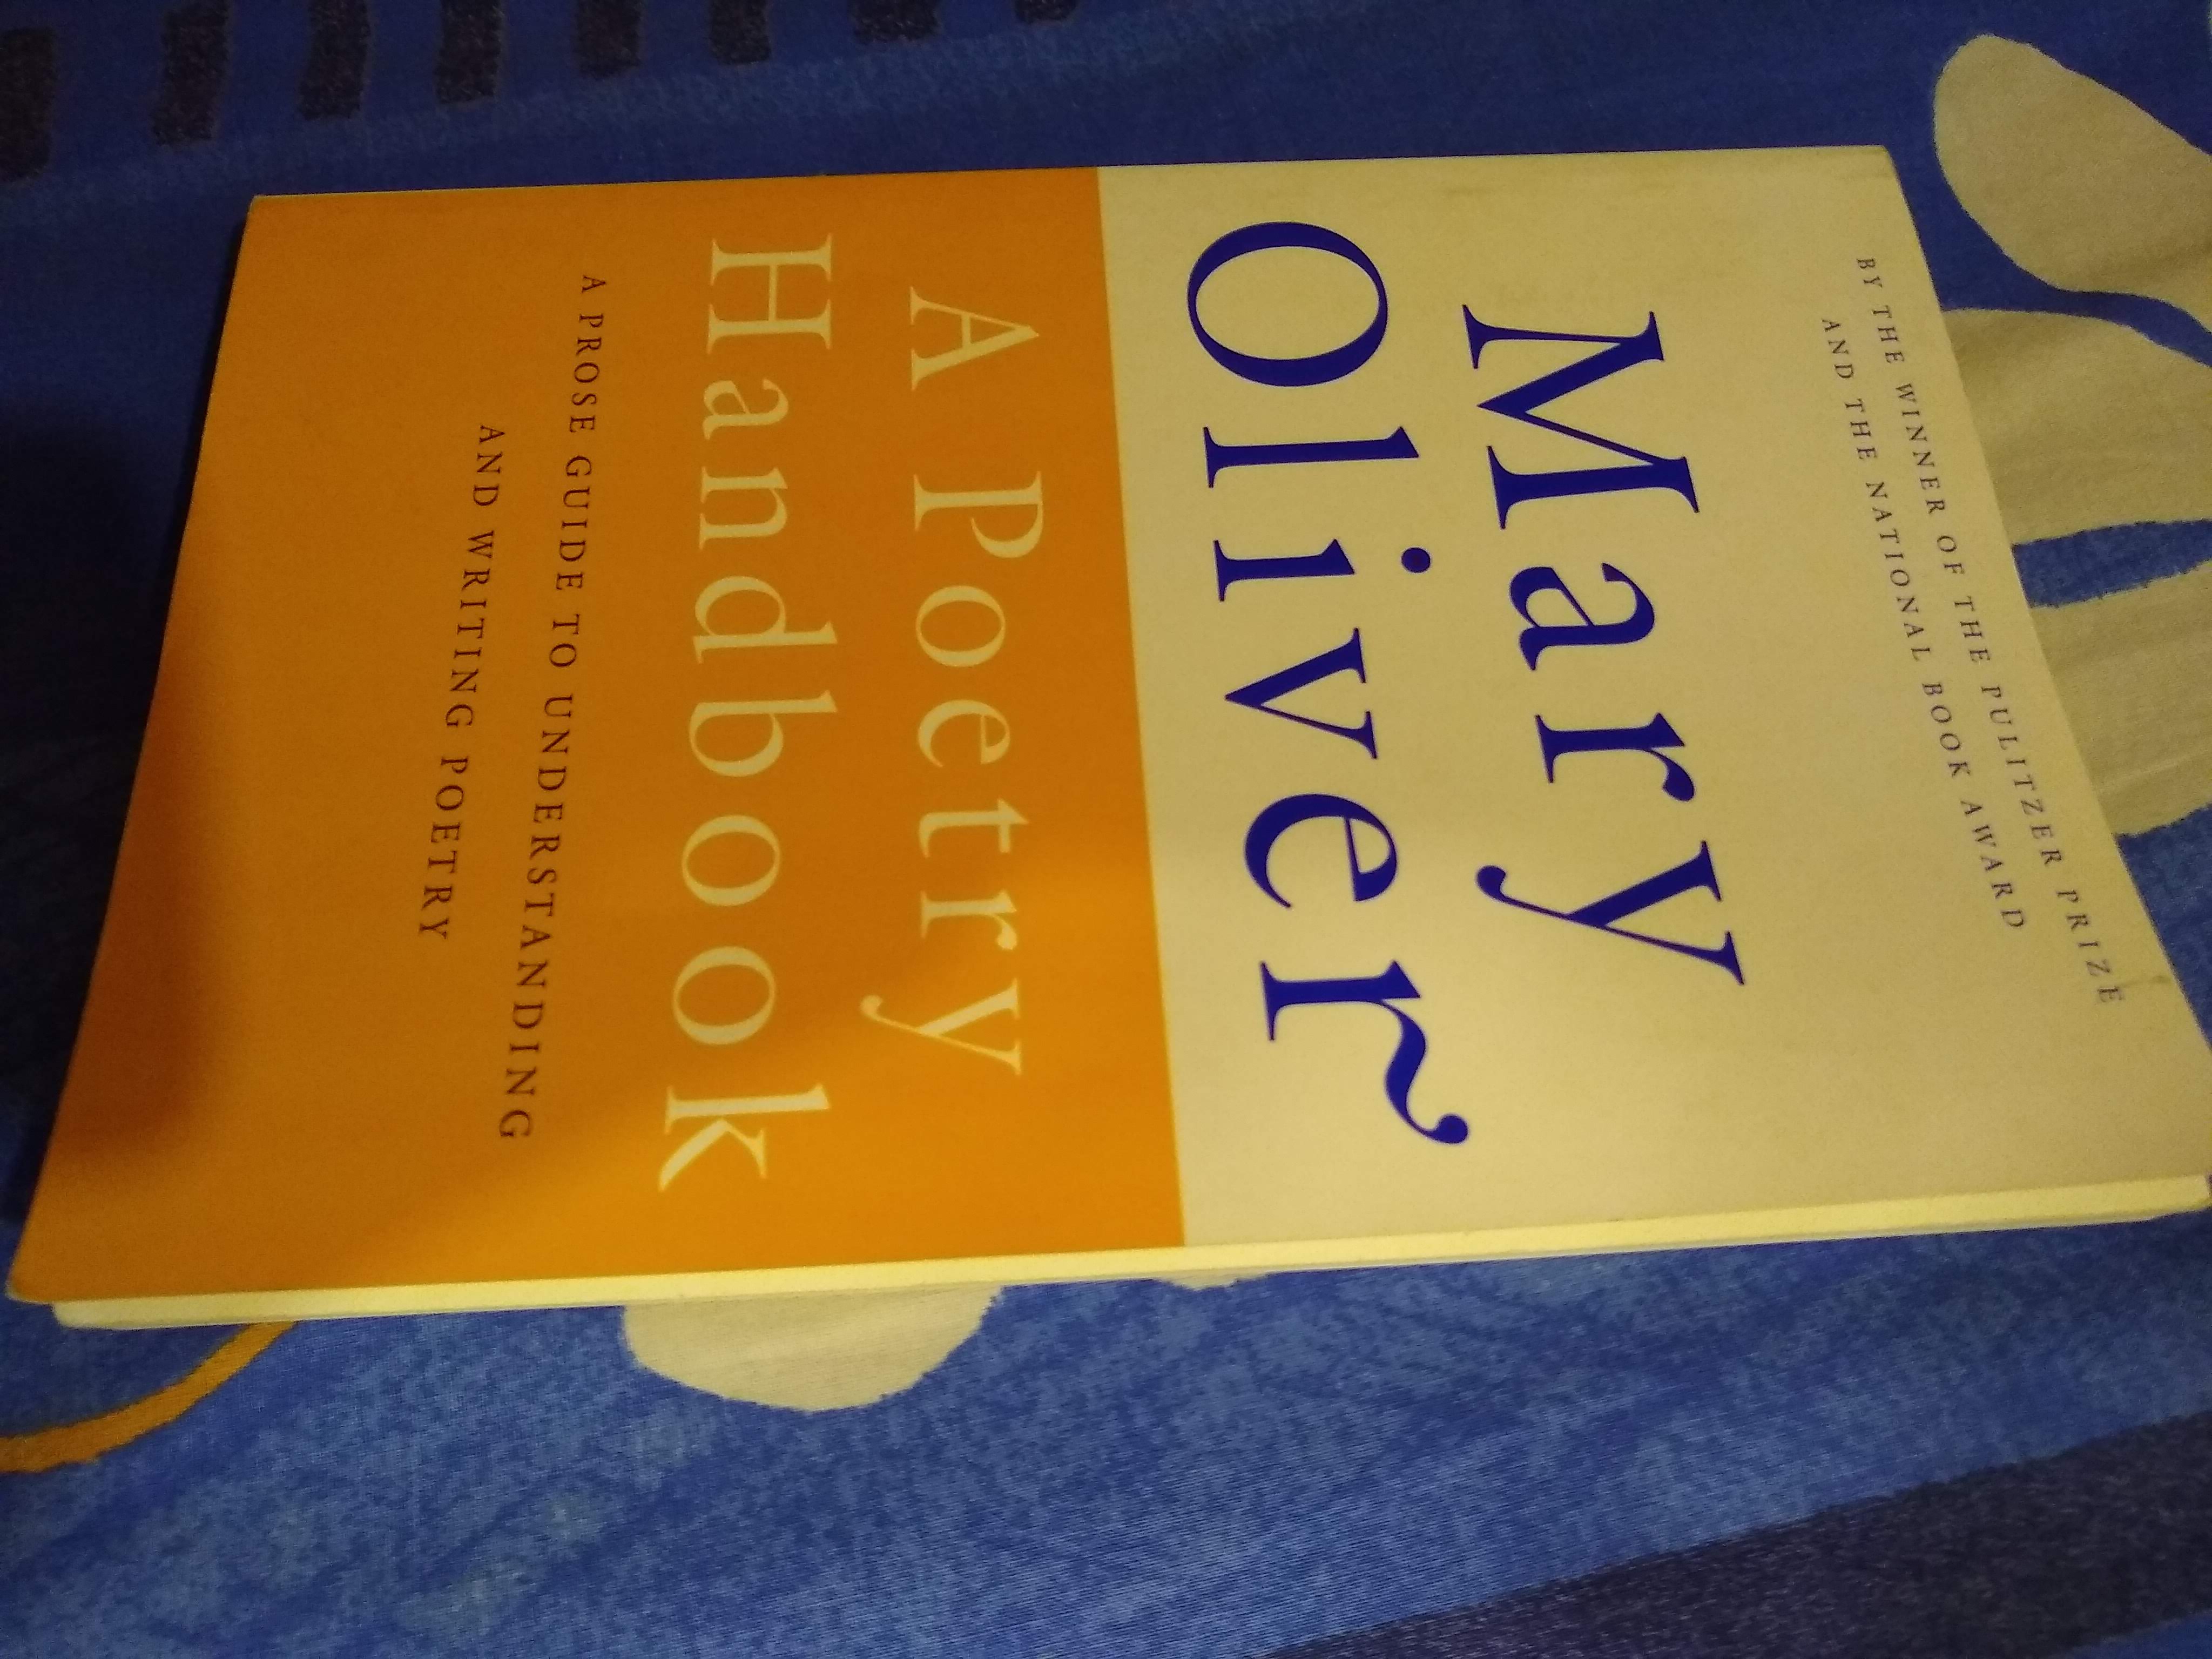
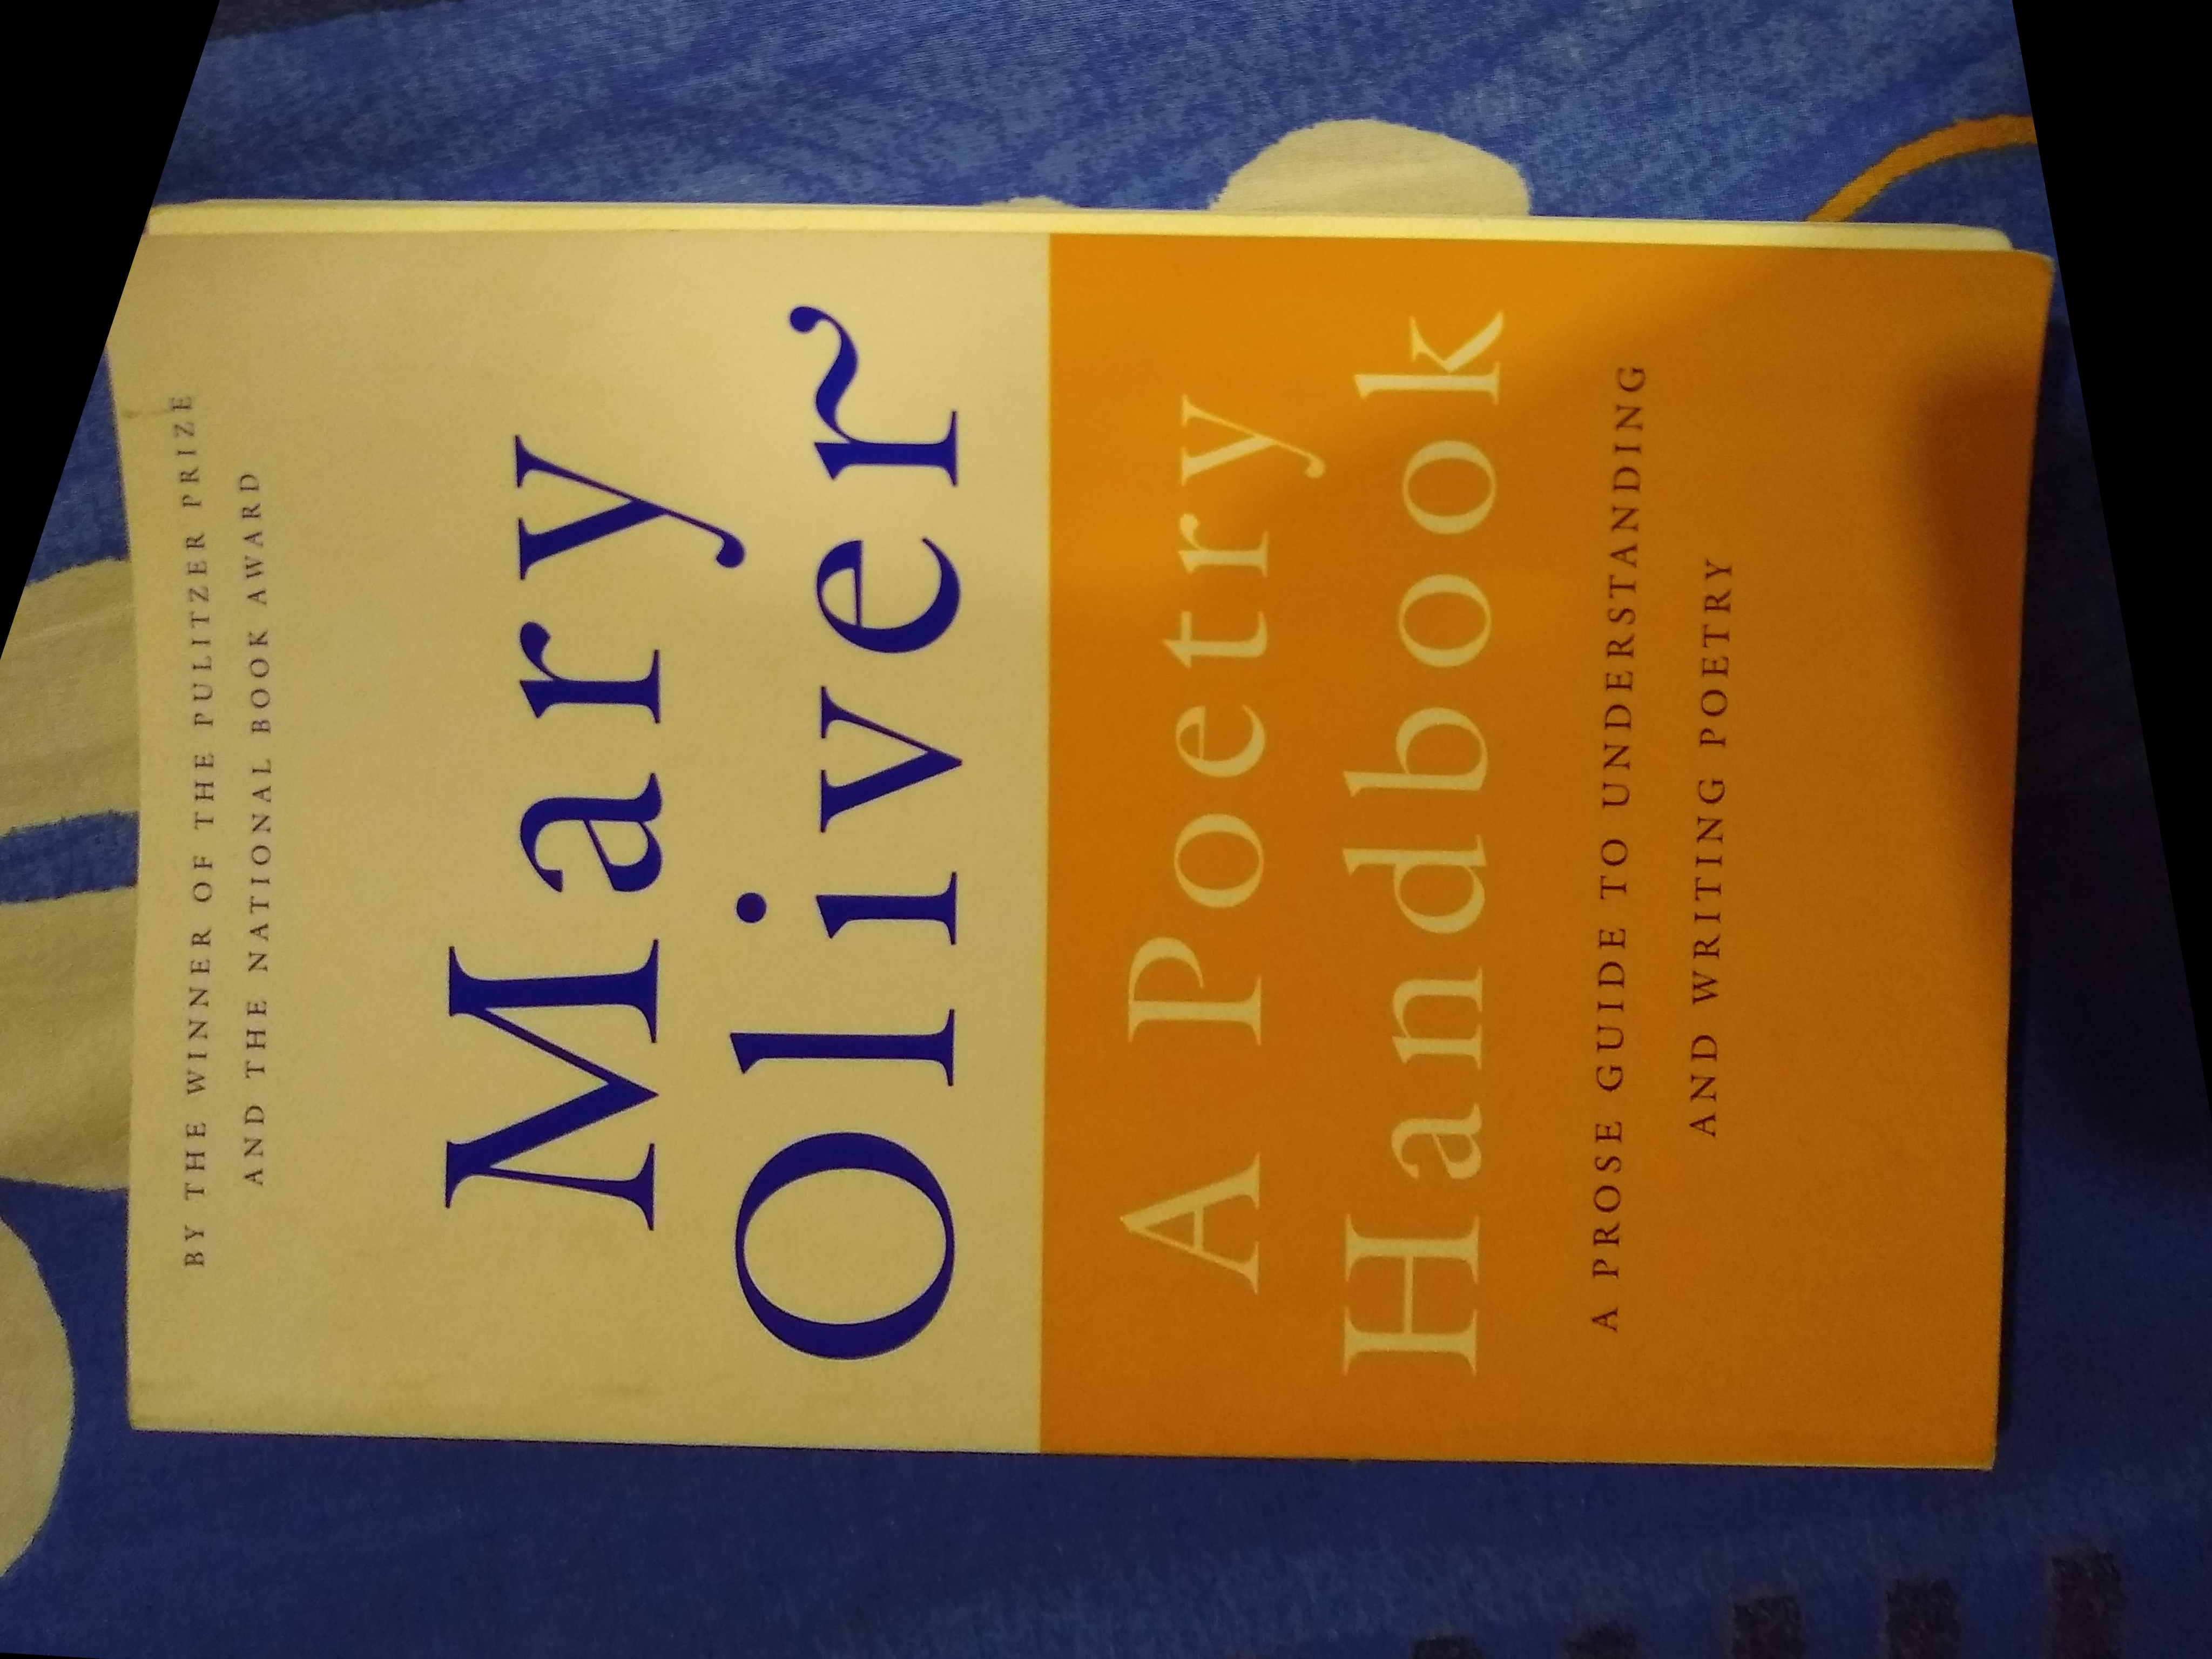
图像匹配是一种数字图像处理技术, 可帮助我们对齐同一场景的不同图像。例如, 可以从各个角度单击一本书的图片。以下是一些显示摄像机角度变化的实例。
现在, 我们可能需要将特定图像”对齐”到与参考图像相同的角度。在上面的图像中, 人们可能会认为第一张图像是”理想的”封面照片, 而第二张和第三张图像不能很好地用于书本封面照片。图像匹配算法可帮助我们将第二张图片和第三张图片与第一张图片对齐。
图像匹配如何工作?
对齐可以看作是简单的坐标变换。该算法的工作原理如下:
- 将两个图像都转换为灰度。
- 将要对齐的图像中的特征与参考图像进行匹配, 并存储相应关键点的坐标。关键点仅是用于计算转换的选定的几个点(通常是突出的点), 描述符是图像渐变的直方图, 用于表征关键点的外观。在本文中, 我们在OpenCV库中使用ORB(定向FAST和Roted Brief)实现, 它为我们提供了关键点及其关联的描述符。
- 在两个图像之间匹配关键点。在本文中, 我们使用BFMatcher, 这是一个蛮力匹配器。BFMatcher.match()检索最佳匹配, 而BFMatcher.knnMatch()检索前K个匹配项, 其中K由用户指定。
- 选择最热门的比赛, 并删除嘈杂的比赛。
- 找到同态变换。
- 将此变换应用于原始未对齐图像以获取输出图像。
图像匹配的应用–
图像匹配的一些有用应用包括:
- 将各种场景(可能具有或不具有相同的相机对齐方式)混合在一起以形成连续的全景拍摄。
- 将文档的相机图像对齐到标准对齐以创建真实的扫描文档。
- 对齐医学图像以便更好地观察和分析。
下面是图像匹配的代码。我们已将第二张图像与第三张图像对齐。
import cv2
import numpy as np

# Open the image files.
img1_color = cv2.imread( "align.jpg" )  # Image to be aligned.
img2_color = cv2.imread( "ref.jpg" )    # Reference image.

# Convert to grayscale.
img1 = cv2.cvtColor(img1_color, cv2.COLOR_BGR2GRAY)
img2 = cv2.cvtColor(img2_color, cv2.COLOR_BGR2GRAY)
height, width = img2.shape

# Create ORB detector with 5000 features.
orb_detector = cv2.ORB_create( 5000 )

# Find keypoints and descriptors.
# The first arg is the image, second arg is the mask
#  (which is not reqiured in this case).
kp1, d1 = orb_detector.detectAndCompute(img1, None )
kp2, d2 = orb_detector.detectAndCompute(img2, None )

# Match features between the two images.
# We create a Brute Force matcher with
# Hamming distance as measurement mode.
matcher = cv2.BFMatcher(cv2.NORM_HAMMING, crossCheck = True )

# Match the two sets of descriptors.
matches = matcher.match(d1, d2)

# Sort matches on the basis of their Hamming distance.
matches.sort(key = lambda x: x.distance)

# Take the top 90 % matches forward.
matches = matches[: int ( len (matches) * 90 )]
no_of_matches = len (matches)

# Define empty matrices of shape no_of_matches * 2.
p1 = np.zeros((no_of_matches, 2 ))
p2 = np.zeros((no_of_matches, 2 ))

for i in range ( len (matches)):
   p1[i, :] = kp1[matches[i].queryIdx].pt
   p2[i, :] = kp2[matches[i].trainIdx].pt

# Find the homography matrix.
homography, mask = cv2.findHomography(p1, p2, cv2.RANSAC)

# Use this matrix to transform the
# colored image wrt the reference image.
transformed_img = cv2.warpPerspective(img1_color, homography, (width, height))

# Save the output.
cv2.imwrite( 'output.jpg' , transformed_img)
输出如下:
首先, 你的面试准备可通过以下方式增强你的数据结构概念:Python DS课程。
评论前必须登录!
注册