 srcmini
本文概述
此控件用于在Web表单上显示文本信息。它主要用于为其他控件(如文本框)创建标题。
要创建标签,我们可以编写代码或使用Visual Studio 2017的拖放功能。
这是服务器端控件,asp提供了自己的标签来创建标签。下面给出示例。
< asp:LabelID="Label1" runat="server" Text="Label" ></asp:Label>该控件具有自己的属性,如下表所示。
| 属性 | 描述 |
|---|---|
| AccessKey | 用于设置标签的键盘快捷键。 |
| TabIndex | 控件的制表符顺序。 |
| BackColor | 用于设置标签的背景色。 |
| BorderColor | 用于设置标签的边框颜色。 |
| BorderWidth | 用于设置标签边框的宽度。 |
| Font | 用于设置标签文本的字体。 |
| ForeColor | 用于设置标签文本的颜色。 |
| Text | 它用于设置要在标签上显示的文本。 |
| ToolTip | 当鼠标悬停在标签上时, 它将显示文本。 |
| Visible | 在窗体上设置控件的可见性。 |
| Height | 用于设置控件的高度。 |
| Width | 用于设置控件的宽度。 |
例
// WebControls.aspx
<%@ Page Language="C#" AutoEventWireup="true" CodeBehind="WebControls.aspx.cs"
Inherits="WebFormsControlls.WebControls" %>
<!DOCTYPE html>
<html xmlns="http://www.w3.org/1999/xhtml">
<head runat="server">
<title></title>
<style type="text/css">
.auto-style1 {
width: 100%;
}
.auto-style2 {
margin-left: 0px;
}
.auto-style3 {
width: 121px;
}
</style>
</head>
<body>
<form id="form1" runat="server">
<div>
<h4>Provide the Following Details:</h4>
<table class="auto-style1">
<tr>
<td class="auto-style3">
<asp:Label ID="Label1" runat="server" Text="User Name"></asp:Label></td>
<td>
<asp:TextBox ID="TextBox1" runat="server" CssClass="auto-style2"></asp:TextBox></td>
</tr>
<tr>
<td class="auto-style3">
<asp:Label ID="Label2" runat="server" Text="Upload a File"></asp:Label></td>
<td>
<asp:FileUpload ID="FileUpload1" runat="server" /></td>
</tr>
</table>
</div>
</form>
</body>
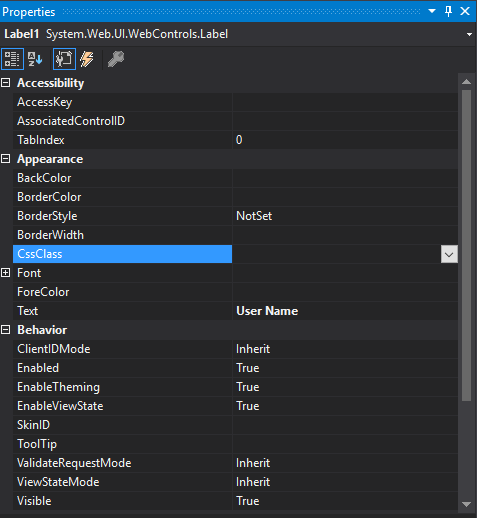
</html>这是标签控件的属性窗口。
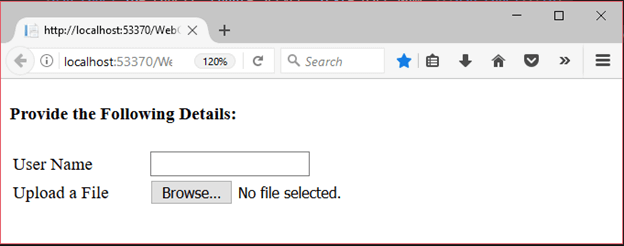
输出:
在这里,我们使用了带有两个不同控件的标签控件。它产生以下输出。
评论前必须登录!
注册