 srcmini
本文概述
了解如何使用webcamjs和Electron框架实现网络摄像头功能以在混合应用程序上拍摄快照。
准备相机
为了处理摄像头任务, 我们将使用webcamjs。 WebcamJS是一个小巧的JavaScript库(压缩后压缩后约为3K), 用于捕获计算机相机中的静止图像, 并将其作为JPEG或PNG数据URI发送给你。 WebcamJS使用HTML5 getUserMedia。
要开始使用此插件, 请使用以下命令将其添加到我们的Electron项目中:
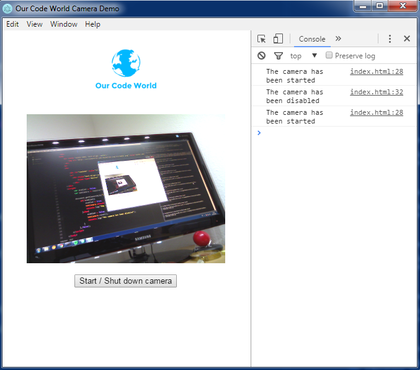
npm install webcamjs --save然后, 我们就可以使用javascript来要求它了, 但是在此之前, 请在你的主要html文件(相机的div和用于启动或停止它的按钮)中创建基本的html结构:
<!--You can change the dimensions of the camera with height and weight, (text align and margin is just for center the image)-->
<div id="camdemo" style="width: 320px; height: 240px; text-align: center; margin: 0 auto;"></div>
<br>
<div style="text-align:center;">
    <input type="button" id="start" value="Start / Shut down camera"/>
</div>
然后使其与javascript一起使用, 为按钮创建一个事件侦听器, 并使用该插件启动或启用摄像头:
// A flag to know when start or stop the camera
var enabled = false;
// Use require to add webcamjs
var WebCamera = require("webcamjs");

document.getElementById("start").addEventListener('click', function(){
   if(!enabled){ // Start the camera !
     enabled = true;
     WebCamera.attach('#camdemo');
     console.log("The camera has been started");
   }else{ // Disable the camera !
     enabled = false;
     WebCamera.reset();
    console.log("The camera has been disabled");
   }
}, false);
最后, 在命令提示符下使用npm start启动项目并测试相机!
如果需要, 你可以在此处查看更多webcamjs的演示。
将图像保存到桌面
多亏了插件, 快照将易于处理, 但是插件将仅返回图像的base64字符串。要生成base64字符串, 请使用WebCamera的snap函数(在此处了解如何使用它)。
现在要保存图像, 我们需要处理base64字符串并将其保存在文件中。添加一个按钮以保存它。
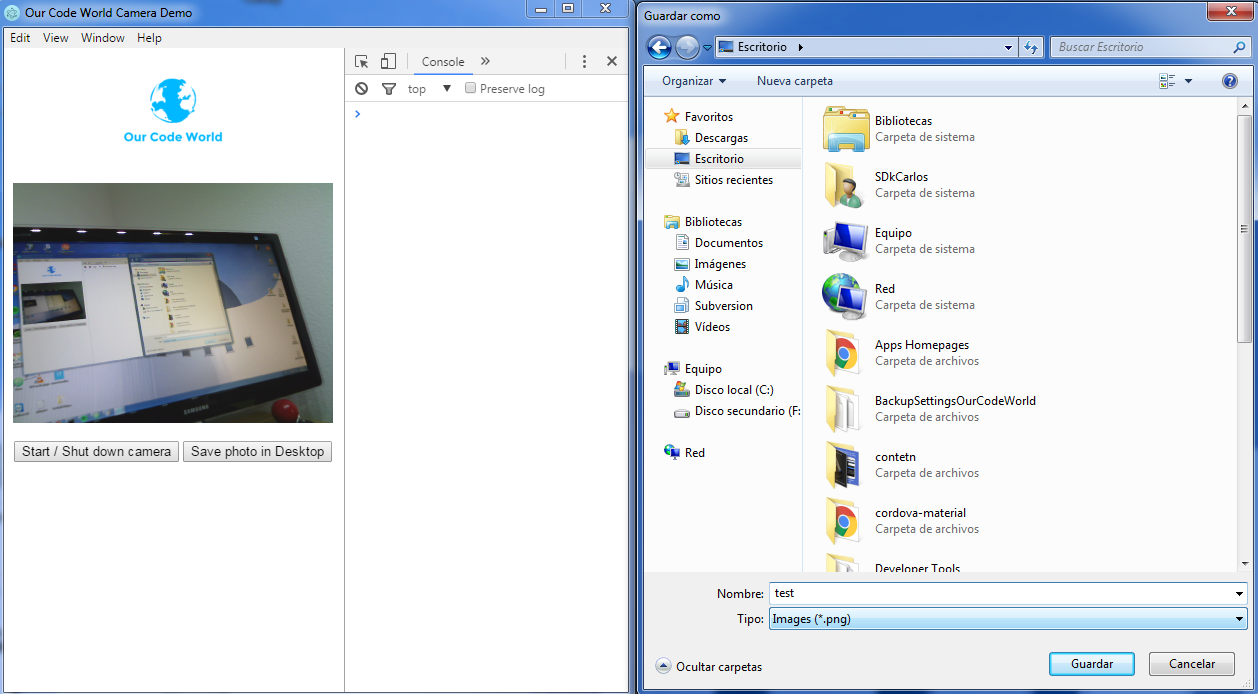
<input type="button" id="savefile" value="Save photo in Desktop"/>添加对话框依赖关系以创建一个对话框来轻松保存文件, 拍摄相机快照并将其写入文件:
var remote = require('remote'); // Load remote component that contains the dialog dependency
var dialog = remote.require('dialog'); // Load the dialogs component of the OS
var fs = require('fs'); // Load the File System to execute our common tasks (CRUD)

// return an object with the processed base64image
function processBase64Image(dataString) {
      var matches = dataString.match(/^data:([A-Za-z-+\/]+);base64, (.+)$/), response = {};

      if (matches.length !== 3) {
          return new Error('Invalid input string');
      }

      response.type = matches[1];
      response.data = new Buffer(matches[2], 'base64');

      return response;
}

document.getElementById("savefile").addEventListener('click', function(){
     if(enabled){
            WebCamera.snap(function(data_uri) {
                // Save the image in a variable
                var imageBuffer = processBase64Image(data_uri);
                // Start the save dialog to give a name to the file
                dialog.showSaveDialog({
                    filters: [
                        { name: 'Images', extensions: ['png'] }, ]
                }, function (fileName) {
                       if (fileName === undefined){
                            console.log("You didn't save the file because you exit or didn't give a name");
                            return;
                       }
                       // If the user gave a name to the file, then save it
                       // using filesystem writeFile function
                       fs.writeFile(fileName, imageBuffer.data, function(err) {
                           if(err){
                               console.log("Cannot save the file :'( time to cry !");
                           }else{
                               alert("Image saved succesfully");
                           }
                       });
                });
             });
     }else{
            console.log("Please enable the camera first to take the snapshot !");
     }
}, false);
该对话框应该像超级按钮一样工作, 你将能够使用系统保存对话框保存图像(在此处详细了解文件的生命周期, 如何使用对话框保存文件等):
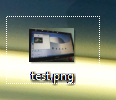
并将图像保存在桌面上:
笔记
- 你可以在webcamjs的初始化中更改image_format属性来更改图像的格式
- 如果相机正在被其他程序使用, 你将看到黑屏。到日期为止, 无法检测到相机是否正在被其他程序使用。
- 访问《我们的密码世界》中的Electron示例存储库以查看此示例
玩得开心
评论前必须登录!
注册