 srcmini
本文概述
许多PDF都有页脚和页眉, 你需要在其中放置企业徽标, 地址, 电子邮件等。在Dompdf中, 由于页边距或页面大小, 这可能会有些棘手, 因此你需要耐心并进行测试大小各不相同, 并根据你的情况进行设置。在本文中, 我们将向你展示如何使用HTML或Dompdf中的图像在PDF上实现页眉和页脚。
A.基于HTML的页眉/页脚
如果只想在页脚和页眉上设置HTML, 则足以在文档中包含具有特定尺寸的页眉和页脚标记。这两个元素的位置都需要固定, 否则它们将相对于PDF的内容, 这显然是我们所不希望的。你还需要根据需要提供页面的尺寸。以下示例生成2页的PDF, 其边距为所述高度:
<html>
<head>
<style>
/** Define the margins of your page **/
@page {
margin: 100px 25px;
}
header {
position: fixed;
top: -60px;
left: 0px;
right: 0px;
height: 50px;
/** Extra personal styles **/
background-color: #03a9f4;
color: white;
text-align: center;
line-height: 35px;
}
footer {
position: fixed;
bottom: -60px;
left: 0px;
right: 0px;
height: 50px;
/** Extra personal styles **/
background-color: #03a9f4;
color: white;
text-align: center;
line-height: 35px;
}
</style>
</head>
<body>
<!-- Define header and footer blocks before your content -->
<header>
Our Code World
</header>
<footer>
Copyright © <?php echo date("Y");?>
</footer>
<!-- Wrap the content of your PDF inside a main tag -->
<main>
<p style="page-break-after: always;">
Content Page 1
</p>
<p style="page-break-after: never;">
Content Page 2
</p>
</main>
</body>
</html>如果生成先前的标记, 则生成的PDF将如下所示:
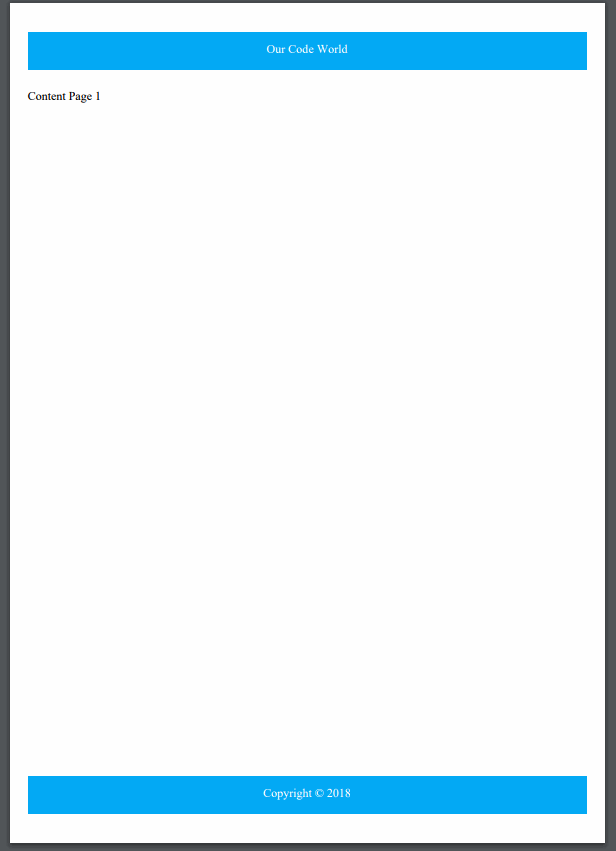
页眉和页脚在PDF的每一页上都会重复。显然, 你可以在其中添加所需的HTML, 这只是一个示例, 我们已使其变得尽可能简单。
B.基于HTML的全角页眉/页脚
使用先前的方法, 你会遇到一些问题。页眉和页脚适合页面的页边空白, 有时并不是你所需要的。如果需要页脚和页眉具有与纸张相同的宽度, 则需要进行不同的处理。在这种情况下, 你可以执行以下操作:将页面的页边距设置为0, 这将自动使PDF的所有内容都适合整个工作表, 使页脚和页眉的宽度为100%。但是你现在还有另一个问题, 那就是PDF实际内容的边距。可以在主体上设置边距, 请注意, 边距(至少顶部和底部)必须大于页脚和页眉的高度, 否则你将看不到内容的一部分。最后, 将自己的样式应用于元素, 如以下示例所示:
<html>
<head>
<style>
/**
Set the margins of the page to 0, so the footer and the header
can be of the full height and width !
**/
@page {
margin: 0cm 0cm;
}
/** Define now the real margins of every page in the PDF **/
body {
margin-top: 2cm;
margin-left: 2cm;
margin-right: 2cm;
margin-bottom: 2cm;
}
/** Define the header rules **/
header {
position: fixed;
top: 0cm;
left: 0cm;
right: 0cm;
height: 2cm;
/** Extra personal styles **/
background-color: #03a9f4;
color: white;
text-align: center;
line-height: 1.5cm;
}
/** Define the footer rules **/
footer {
position: fixed;
bottom: 0cm;
left: 0cm;
right: 0cm;
height: 2cm;
/** Extra personal styles **/
background-color: #03a9f4;
color: white;
text-align: center;
line-height: 1.5cm;
}
</style>
</head>
<body>
<!-- Define header and footer blocks before your content -->
<header>
Our Code World
</header>
<footer>
Copyright © <?php echo date("Y");?>
</footer>
<!-- Wrap the content of your PDF inside a main tag -->
<main>
<h1>Hello World</h1>
</main>
</body>
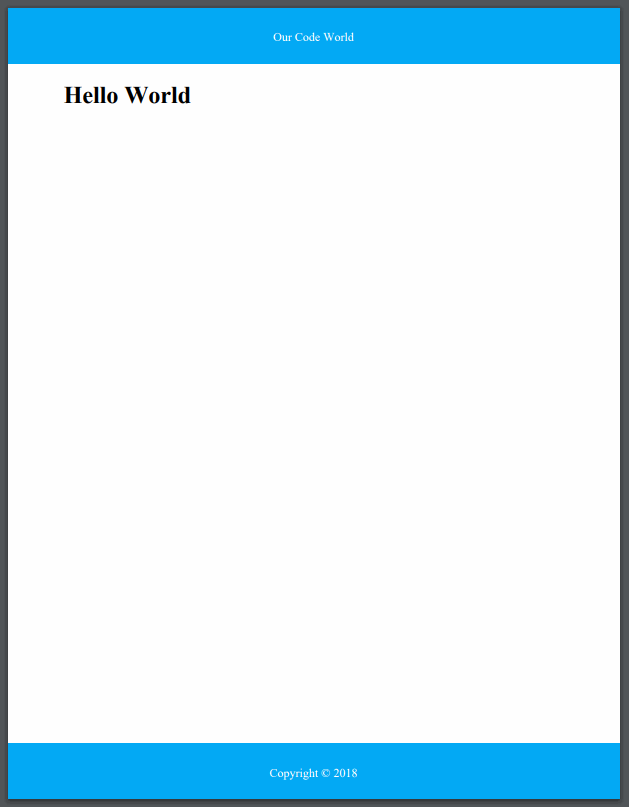
</html>
Dompdf中的标记将生成以下PDF:
C.基于图像的页眉/页脚
如果要添加图像作为页脚和页眉, 则需要遵循基于全宽度HTML的页眉和页脚的结构。但是, 页脚和标头的内容现在将是带有相应图像的img标签(具有完整的高度和宽度)。
<html>
    <head>
        <style>
            /**
                Set the margins of the page to 0, so the footer and the header
                can be of the full height and width !
             **/
            @page {
                margin: 0cm 0cm;
            }

            /** Define now the real margins of every page in the PDF **/
            body {
                margin-top: 3cm;
                margin-left: 2cm;
                margin-right: 2cm;
                margin-bottom: 2cm;
            }

            /** Define the header rules **/
            header {
                position: fixed;
                top: 0cm;
                left: 0cm;
                right: 0cm;
                height: 3cm;
            }

            /** Define the footer rules **/
            footer {
                position: fixed;
                bottom: 0cm;
                left: 0cm;
                right: 0cm;
                height: 2cm;
            }
        </style>
    </head>
    <body>
        <!-- Define header and footer blocks before your content -->
        <header>
            <img src="header.png" width="100%" height="100%"/>
        </header>

        <footer>
            <img src="footer.png" width="100%" height="100%"/>
        </footer>

        <!-- Wrap the content of your PDF inside a main tag -->
        <main>
            <h1>Hello World</h1>
        </main>
    </body>
</html>
先前的标记将在Dompdf中生成如下内容:
注意
为了获得基于图像的页眉和页脚的完美PDF, 你可能需要进行实验, 更改CSS的高度, 甚至调整图像的大小, 直到一切都按预期通过。

编码愉快!
评论前必须登录!
注册