 srcmini
上一章React Native实战教程请查看:React Native ScrollView元素
在本章中,我们将了解如何在React Native中使用图像Image元素。
添加图片
让我们在src文件夹中创建一个新的img文件夹,我们将把图像(myImage.png)添加到这个文件夹中。
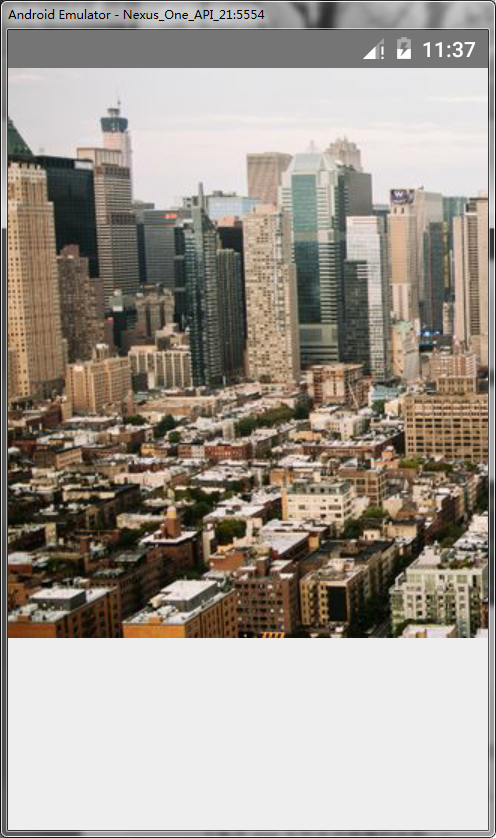
我们将在主屏幕上显示图像。
App.js
import React from 'react';
import ImagesExample from './ImagesExample.js';

const App = () => {
  return <ImagesExample />;
};
export default App;
可以使用以下语法访问本地映像。
image_example.js
import React, {Component} from 'react';
import {Image} from 'react-native';

const ImagesExample = () => <Image source={require('./img/exp.jpg')} />;
export default ImagesExample;
输出
屏幕密度
React Native提供了一种使用@2x、@3x后缀为不同设备优化图像的方法,该应用程序将只加载特定屏幕密度所需的图像。
下面是img文件夹中图像的名称。
my-image@2x.jpg
my-image@3x.jpg
网络图片
在使用网络映像时,我们需要的不是require,而是source属性。建议定义网络图像的宽度和高度。
App.js
import React from 'react';
import ImagesExample from './image_example.js'

const App = () => {
   return (
      <ImagesExample />
   )
}
export default App
image_example.js
import React, {Component} from 'react';
import {View, Image} from 'react-native';

const ImagesExample = () => (
  <Image
    source={{
      uri: 'https://img9.doubanio.com/view/subject/l/public/s25648004.jpg',
    }}
    style={{width: 300, height: 500}}
  />
);
export default ImagesExample;

评论前必须登录!
注册